

The final walkthrough is the structured inspection tour where you and your contractor review every completed element of your renovation before you release the last payment. In the industry, this step is also called the “project closeout inspection” or “owner walkthrough.” Understanding how final walkthrough works in a renovation gives you real leverage. It is your last chance to catch defects, confirm contract fulfillment, and document anything that still needs fixing. Many New York homeowners confuse this step with the official government building inspection, and that confusion costs them money and time.
How does the final walkthrough work in a renovation?
The final walkthrough is a room-by-room inspection conducted with your contractor’s lead installer or superintendent. You move through the entire project together, checking every surface, fixture, system, and finish against your original contract. The goal is to confirm that the work is complete, correct, and matches what you agreed to pay for.
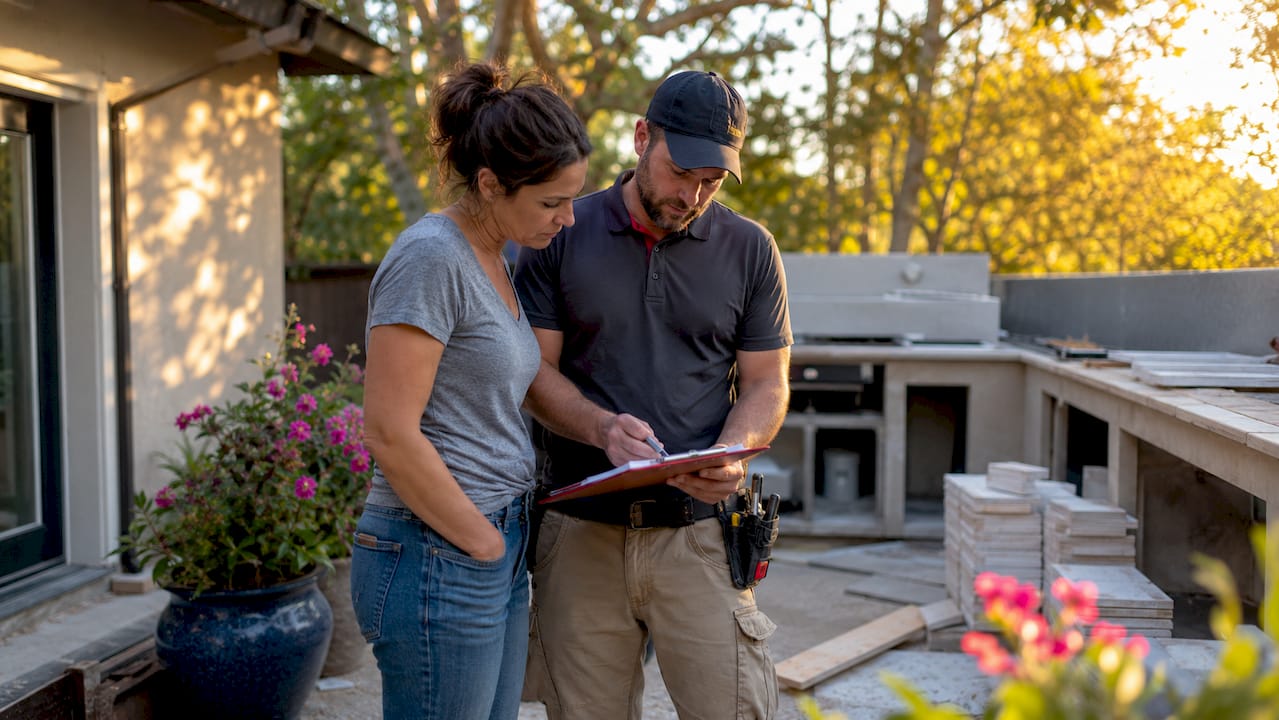
One thing most homeowners do not know: professional contractors pre-inspect the space internally before you ever arrive. This internal pre-walkthrough catches obvious defects, touch-up paint issues, and loose fixtures before the formal inspection. It reduces tension and shortens your punch list considerably.
During the walkthrough itself, you and your contractor typically review:
- Surfaces and finishes: Walls, ceilings, floors, tile grout, and paint for cracks, gaps, or uneven application
- Fixtures and hardware: Faucets, cabinet pulls, light fixtures, outlets, and switches for proper installation and function
- Mechanical systems: HVAC, plumbing, and electrical for correct operation
- Doors and windows: Proper alignment, sealing, and hardware function
- Cleanup and site condition: Removal of debris, protective coverings, and construction materials
Every defect you find gets recorded on a punch list. This written document becomes the formal record of what still needs to be done before you sign off.
Pro Tip: Photograph every defect during the walkthrough. Visual records support your punch list and give you clear evidence for follow-up verification if a contractor disputes whether an issue was noted.
What is a punch list and how does it affect final payment?
A punch list is a formal written document that specifies each incomplete or defective item found during the walkthrough. Written punch lists name the responsible party, describe the defect clearly, and set a target completion date. That structure creates accountability and prevents disputes from turning into drawn-out arguments.
The punch list is not just a to-do list. It is a contractual tool. Linking it directly to your final payment gives you real leverage to get every item resolved.
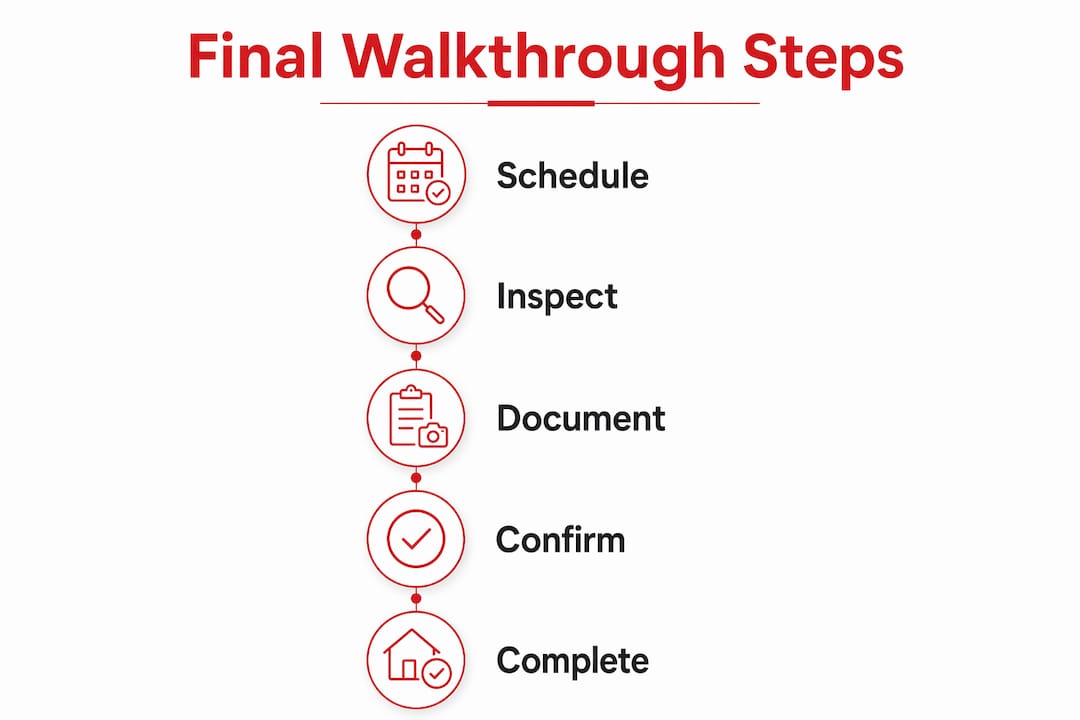
Here is how the punch list process typically unfolds in a New York renovation:
| Stage | What Happens | Common Pitfall |
|---|---|---|
| Walkthrough | Defects identified and photographed | Missing items because inspection was rushed |
| Punch list created | Written document shared with contractor | Vague descriptions that allow contractor to dispute scope |
| Completion window | Contractor resolves items, typically within 2–3 weeks | Delays beyond 3 weeks signal subcontractor management problems |
| Follow-up walkthrough | You verify each item is resolved | Skipping verification and paying before confirming fixes |
| Final sign-off | You release final payment after written confirmation | Releasing payment before all items are closed |
Delays longer than three weeks on punch list items often indicate deeper project management problems, not just minor scheduling conflicts. That is a signal worth taking seriously.
Pro Tip: Hold back final payment until every punch list item is resolved and confirmed in writing. Releasing retainage early removes your primary leverage for getting repairs completed.
Review your contract before the walkthrough. Many New York renovation contracts specify a retainage amount, typically 5–10% of the total project cost, held until punch list completion. Knowing that number in advance helps you understand exactly what leverage you hold. For more context on how payment timing fits into the broader project schedule, the guide on NYC renovation timelines is worth reading before your closeout meeting.
Final walkthrough vs. official building inspection: what is the difference?
These two processes are completely separate, and confusing them is one of the most expensive mistakes New York homeowners make. The final walkthrough is your personal quality control check. The official final building inspection is a government compliance review conducted by a licensed inspector from the New York City Department of Buildings.
The official inspection covers:
- Structural work: Framing, load-bearing modifications, and foundation changes
- Mechanical systems: Electrical panels, plumbing rough-ins, and HVAC installations
- Fire safety: Smoke detectors, sprinkler systems, and egress compliance
- Code compliance: Verification that all permitted work matches the approved plans
A government inspector reviews all permitted work against local building codes and approved plans. This is not about whether your tile is straight. It is about whether your electrical panel is safe and your structural modifications meet code.
Renovations that typically require a government final inspection in New York include gut renovations, kitchen and bathroom remodels involving plumbing or electrical work, structural changes, and any project that required a permit to begin. If your contractor pulled permits for the work, a final inspection is required before you receive a Certificate of Occupancy or Letter of Completion.
A thorough pre-inspection walkthrough on your end greatly increases the chances of passing the official inspection on the first visit. Failed inspections delay occupancy and add re-inspection fees that nobody wants to pay.
Pro Tip: Ask your contractor to confirm that all permits have received final approval from the NYC Department of Buildings before you release any final payment. Never assume permits are closed just because the physical work is done.
How to prepare for your final walkthrough
Preparation is the difference between a productive walkthrough and one where you miss defects that cost you later. Your goal is to arrive with a clear checklist, a charged phone for photos, and a solid understanding of what your contract promised.
Start with these preparatory steps:
- Review your contract in full before the walkthrough date. Know exactly what finishes, fixtures, and systems were included in the scope.
- Download or create a renovation walkthrough checklist. Designsbydandj offers a free homeowner checklist you can adapt for your specific project.
- Bring your original design documents and finish selections. Compare installed materials against what was specified.
- Test everything that can be tested. Run faucets, flush toilets, flip every switch, open every door and window, and check every drawer and cabinet.
- Look for red flags specific to NYC renovations, including improper tile grouting in wet areas, uneven paint coverage on plaster walls, gaps around window frames from settling, and HVAC systems that were not balanced after installation.
Documenting defects with photos and written notes during the walkthrough is the single most effective thing you can do for contractor accountability. A verbal agreement to fix something is far weaker than a written punch list item with a photo attached.
Communication during the walkthrough matters as much as preparation. Stay factual and specific. Instead of saying “this looks bad,” say “this grout line is cracked along the full length of the shower floor.” Specific language produces specific commitments. For practical guidance on how to frame these conversations, the article on contractor communication in NYC covers this in detail.
Pro Tip: Walk the space once on your own before the formal walkthrough with your contractor. A solo preview lets you identify concerns without the pressure of having the contractor present, so you arrive at the formal inspection with a focused list.
Knowing your role as a client in the renovation process helps you approach this step with confidence rather than anxiety. The walkthrough is not confrontational. It is a professional quality review, and a good contractor welcomes it.
Key takeaways
A successful renovation final walkthrough requires preparation, written documentation, and a clear separation between your quality inspection and the official government building inspection.
| Point | Details |
|---|---|
| Walkthrough is owner quality control | Use it to verify contract fulfillment before releasing any final payment. |
| Punch list drives accountability | Every defect needs a written description, responsible party, and completion deadline. |
| Completion window is 2–3 weeks | Delays beyond three weeks signal contractor management problems worth addressing directly. |
| Government inspection is separate | Confirm all permits are officially closed before signing off on the project. |
| Photos protect you | Visual documentation of every defect supports your punch list and dispute resolution. |
What we have learned after years of NYC renovations
The final walkthrough is the step where most renovation relationships either solidify or fall apart. After working on projects across Brooklyn, Manhattan, and the outer boroughs, the pattern is consistent: homeowners who arrive unprepared get shorter punch lists, not because the work is better, but because they miss things.
The biggest mistake we see is homeowners treating the walkthrough as a formality. They walk through quickly, feel awkward pointing out problems in front of the contractor, and sign off before they should. Then they call two weeks later about the cabinet door that does not close and the outlet that was never grounded. At that point, leverage is gone.
The second mistake is conflating the walkthrough with permit closeout. We have seen homeowners in New York release full payment because the space “looked done,” only to discover later that the Department of Buildings never issued a final approval on the electrical permit. That creates real problems if you ever sell the property or file an insurance claim.
What actually works is a contractor who does the internal pre-walkthrough before you arrive, presents a clean space, and walks through the punch list with you as a collaborative exercise rather than a defensive one. That is the standard we hold ourselves to at Designsbydandj. We do not want you finding problems we already knew about. We want to hand you a space we are proud of, with a short punch list of minor items and a clear timeline to close them out.
If a contractor resists the walkthrough process or pressures you to release final payment before the punch list is resolved, that is a renovation red flag worth taking seriously.
— D&J
Work with a team that gets the closeout right
The final walkthrough should feel like a confident review, not a stressful negotiation. Designsbydandj manages every stage of your renovation with a structured process that includes internal quality checks before you ever set foot in the space for your final inspection.

We handle punch list documentation, follow-up scheduling, and permit coordination so nothing falls through the cracks at closeout. If you are planning a renovation in Brooklyn or anywhere in New York City and want a team that takes quality control seriously from start to finish, learn more about why a design-build firm is the right choice for your project. You can also explore our full range of renovation services to see how we approach every phase, including the final one.
FAQ
What is the purpose of a final walkthrough in a renovation?
The final walkthrough is your structured inspection to confirm all contracted work is complete and meets quality standards before you release final payment. It produces a punch list of any remaining defects the contractor must resolve.
How long does a contractor have to complete punch list items?
Punch list items should realistically be completed within 2–3 weeks of the walkthrough. Delays beyond three weeks often indicate subcontractor management problems.
Is the final walkthrough the same as the official building inspection?
No. The final walkthrough and official inspection are entirely separate. The walkthrough is your personal quality review. The official inspection is a government compliance check on permitted work conducted by the NYC Department of Buildings.
Should i withhold payment until the punch list is done?
Yes. Holding back final payment until all punch list items are resolved and confirmed in writing is the most effective way to maintain leverage and get repairs completed.
What should i bring to my final walkthrough?
Bring your original contract, finish selections, a charged phone for photos, and a written checklist. Testing all fixtures, switches, doors, and plumbing during the walkthrough is the best way to catch defects before you sign off.